

Since I got my crème brûlée tools for Christmas, it has been almost the only dessert I've made. It is divine! Thomas has actually licked the bowl several times after eating it. It's perfect for us because the recipes are super easy to create just two servings. But it's also just as easy to make more servings at one time!
I've tried several different variations so far: classic (vanilla), chocolate, and banana. I'm sure I will also continue to try new flavors, but the classic creme brulee is so delicious that we will definitely keep coming back to it! The other night, when I made this batch, we ate it with some delicious fresh strawberries that I had. Yum!
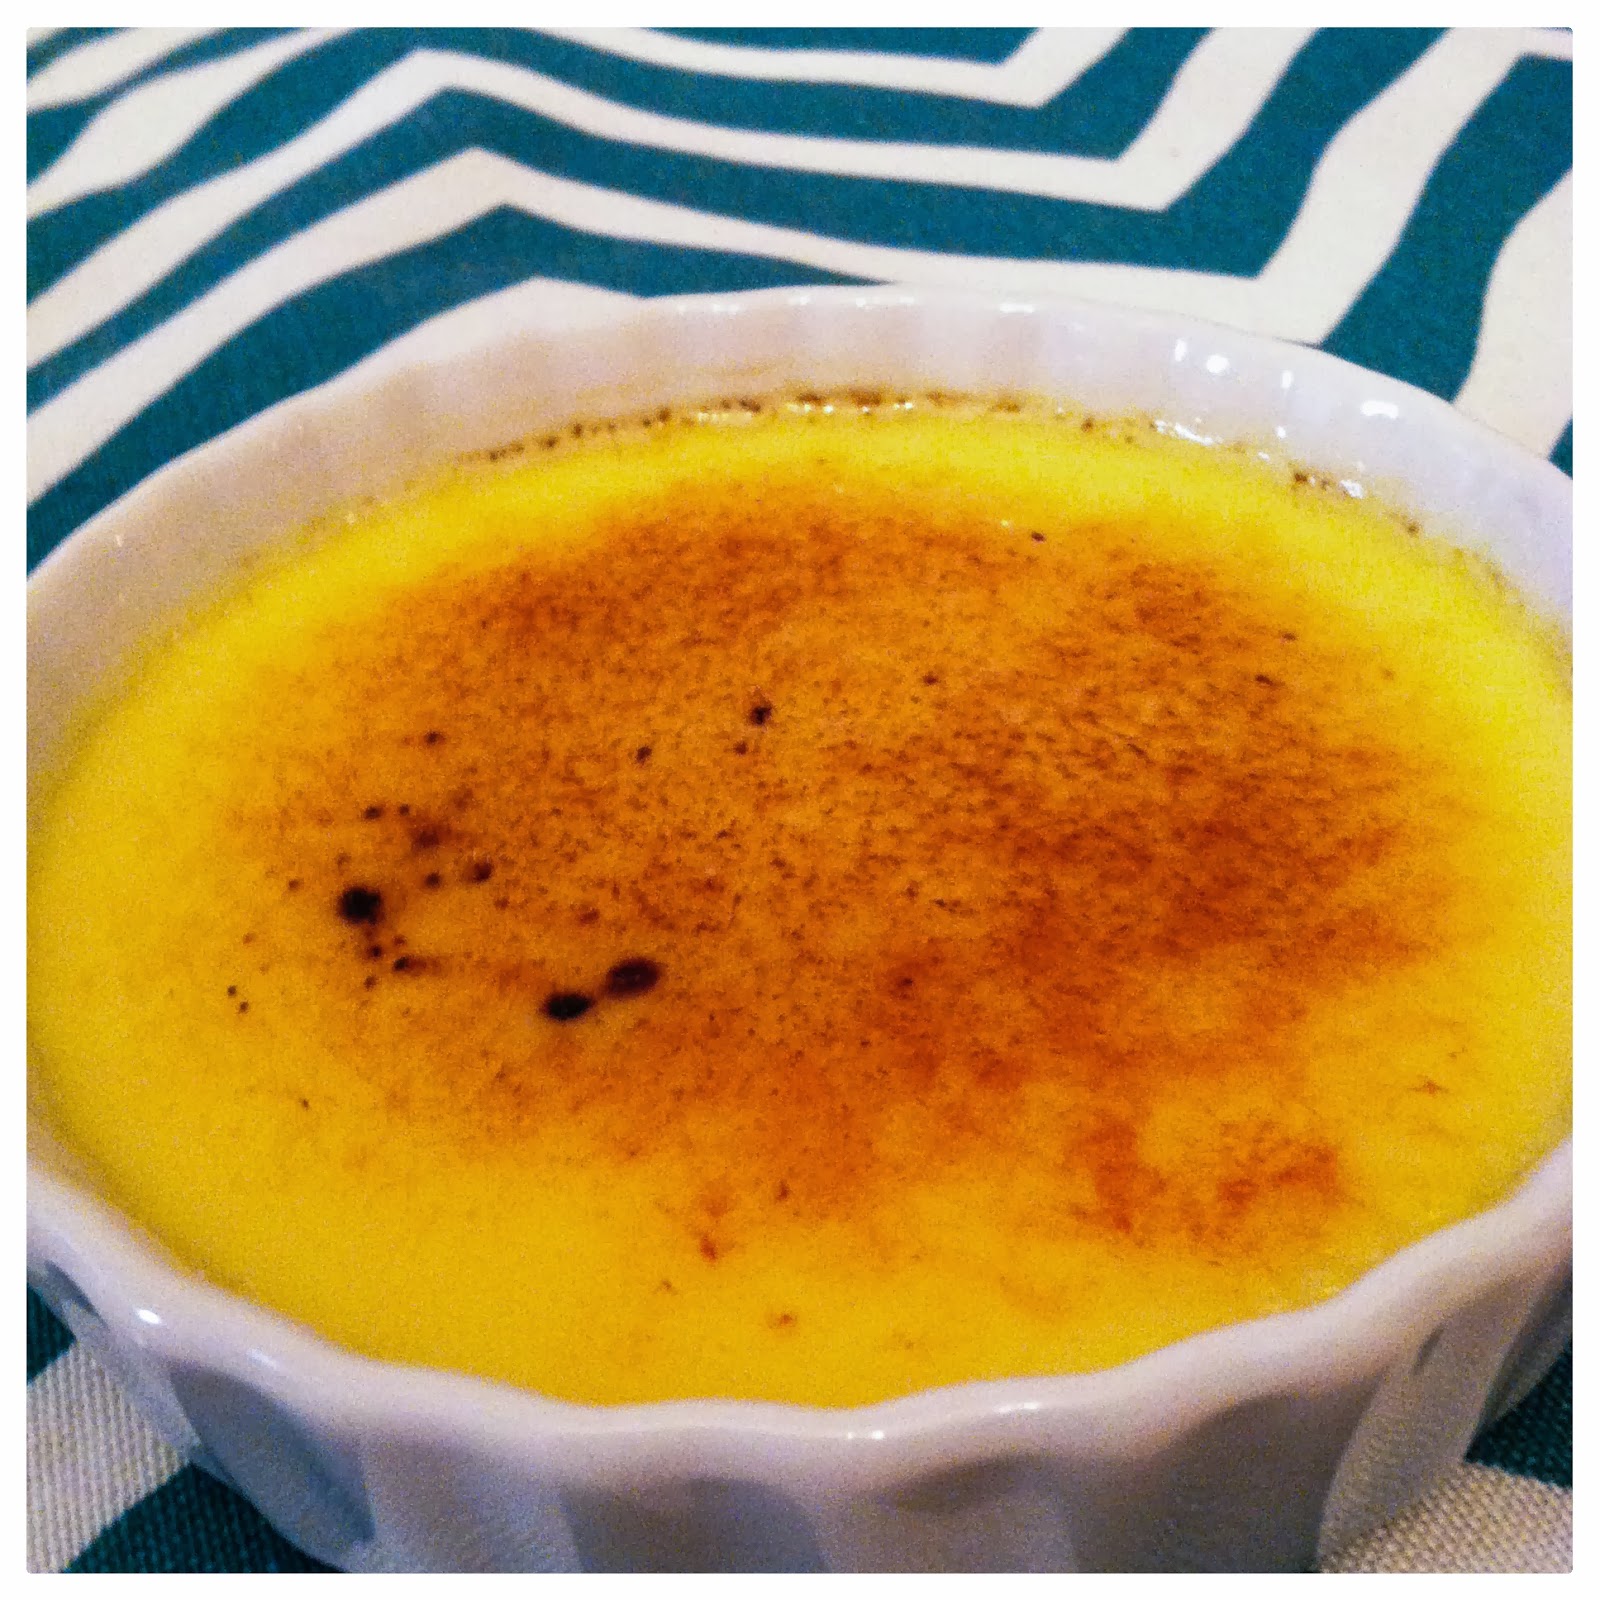
This is classic (vanilla) crème brûlée. It's super creamy and delicious. And don't you just love the crunchy torched-sugar top. (Besides the part where you get to eat it, Thomas' favorite part is torching the top. He just can't stop playing with the torch I got for Christmas.)

*Note: I use crème brûlée/tarlette ramekins that are about 4 1/2 inches in diameter and 1 inch tall. You could also use taller/skinnier ramekins if you like.
 Classic Crème
Brûlée
Classic Crème
BrûléeServes: 2-4 (depending on ramekin size; I make 2 servings)
Adapted from: "Professional Cooking Torch Recipes" (the recipe book that came with my torch)
Ingredients:
1 cup heavy whipping cream
2 tablespoons granulated sugar
2 large or extra large egg yolks
1/2 teaspoon vanilla extract
More granulated sugar for sprinkling
Directions:
- Preheat oven to 300 degrees. Boil some water (I need about 3-4 cups).
- In a saucepan, combine the heavy cream and 2 tablespoons of sugar. Cook over medium-high heat for about 5-6 minutes, until small bubbles form around the edges of the pan. Stir occasionally.
- While the cream is cooking, combine the egg yolks and vanilla in a medium-sized bowl. Whisk until light and smooth.
- When the cream is finished, slowly add it to the egg yolk mixture while whisking. Do not add too much too quickly; you don't want to cook the eggs. Beat continuously until well blended.
- Strain mixture through a mesh strainer into another bowl or a glass measuring cup (for easy pouring). (This removes those bright white parts of the egg that usually stick to the yolk.)
- Pour the strained mixture into your ramekins.
- Arrange the ramekins in a baking pan.
- **Do these next steps in the order that you are most comfortable with. Pour the boiling water into the baking pan to reach about halfway up the sides of the ramekins. Then place it all in the oven.
- Cover loosely with foil.
- Bake for 25-40 minutes, or until custard is just set (the edges look set when you jiggle the pan, but the centers may be a little more liquid.) If you make 4 servings, it will take about 25 minutes. If you make 2 larger servings like I do, it will take more like 40 minutes. Just keep checking about every 5 minutes until the custard jiggles more like jello than liquid.
- Remove everything from the oven, and then remove the ramekins from the water bath VERY CAREFULLY. Chill the ramekins for about 3 hours.
- When ready to eat, sprinkle granulated sugar over the top of each ramekin, then torch it with a cooking torch or blow torch. Continously move the flame over the top of the custard until it reaches the desired color. It should melt and bubble up a bit.
- Serve immediately.
No comments:
Post a Comment